3D Models in Manga Studio: Advanced Tips and Tricks
Okay so you know what your tools are for the 3D models in Manga Studio. You also know how to make your own poses. What else can there be to learn?
Well, like all tools in Manga Studio, the 3D objects have a Tool Property window that gives us some cool extra features that are REALLY useful. Let's check them out!
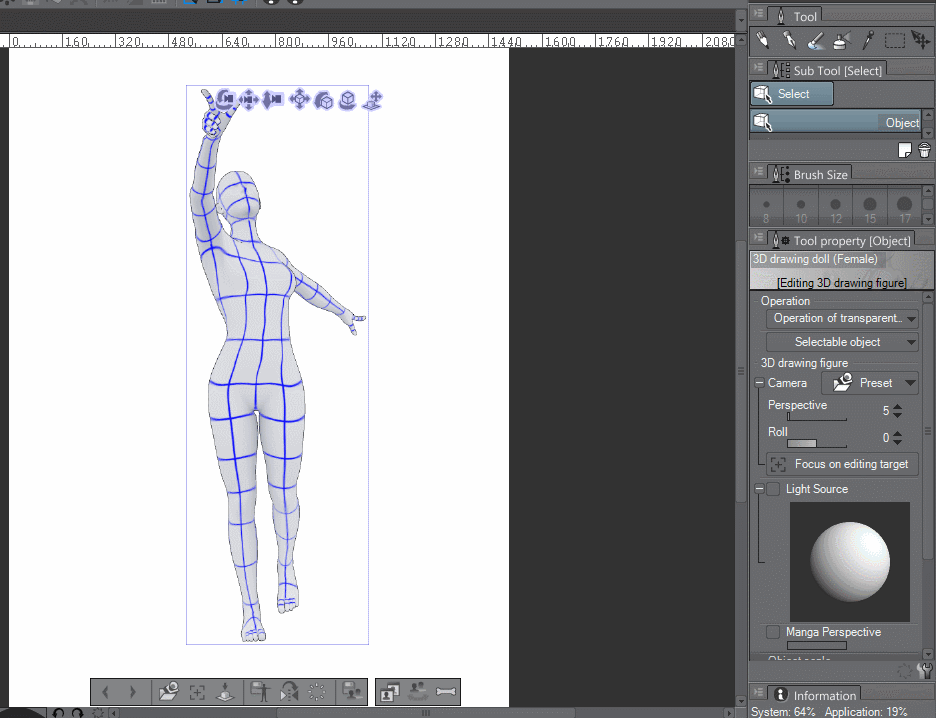
First, we need to open up a model and pose. Today I'm going to use the default drawing model and the pose I made in the last tutorial.
Well, like all tools in Manga Studio, the 3D objects have a Tool Property window that gives us some cool extra features that are REALLY useful. Let's check them out!
First, we need to open up a model and pose. Today I'm going to use the default drawing model and the pose I made in the last tutorial.
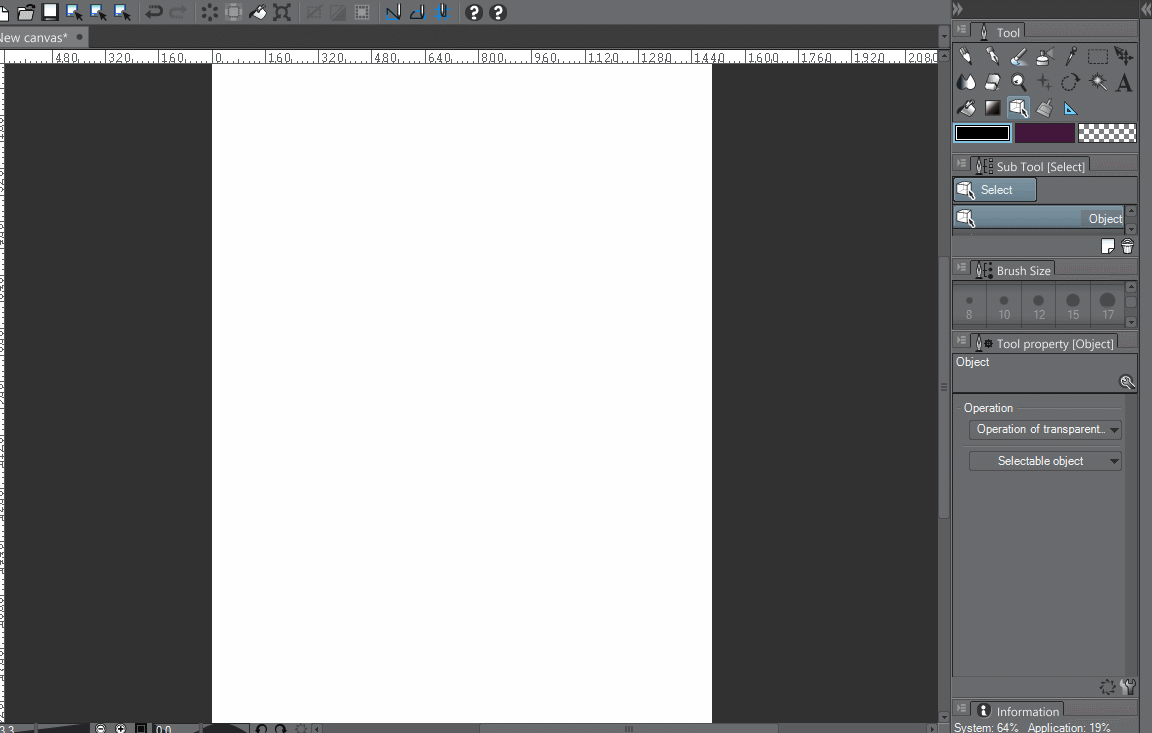
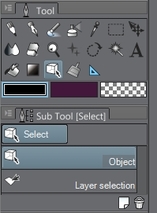
The tool we're going to be on to access this particular Tool Propery screen is "Select".
It's the cube with the cursor on it. In the Sub Tool menu we're going to have Object selected.
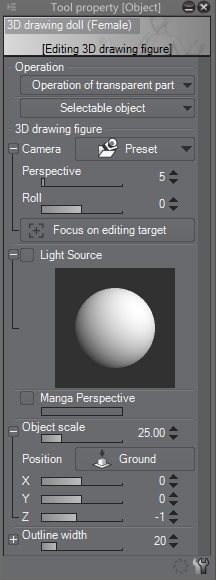
Here's what our Tool Property Screen is going to look like. If you happen to see anything
missing on yours just click the wrench at the bottom right of the box and then check each
tab and click the empty squares next to the missing items. That will add them into the panel.
The first two drop downs I currently don't use. They apply for the the select tool than what we're working with currently so you can ignore them for the moment.
Under 3D drawing figure you'll see the Camera preset option. This does the same thing that our "Specify Camera Angle from Preset" button does on the bar at the bottom of our 3D figure. It lets you set your camera to specific angles.
Under 3D drawing figure you'll see the Camera preset option. This does the same thing that our "Specify Camera Angle from Preset" button does on the bar at the bottom of our 3D figure. It lets you set your camera to specific angles.
Next you'll see Perspective. This is where stuff gets really cool. Perspective is used to change the perspective of the model. This is a great tool to help you learn perspective and it also works well for getting some really cool dynamic images.
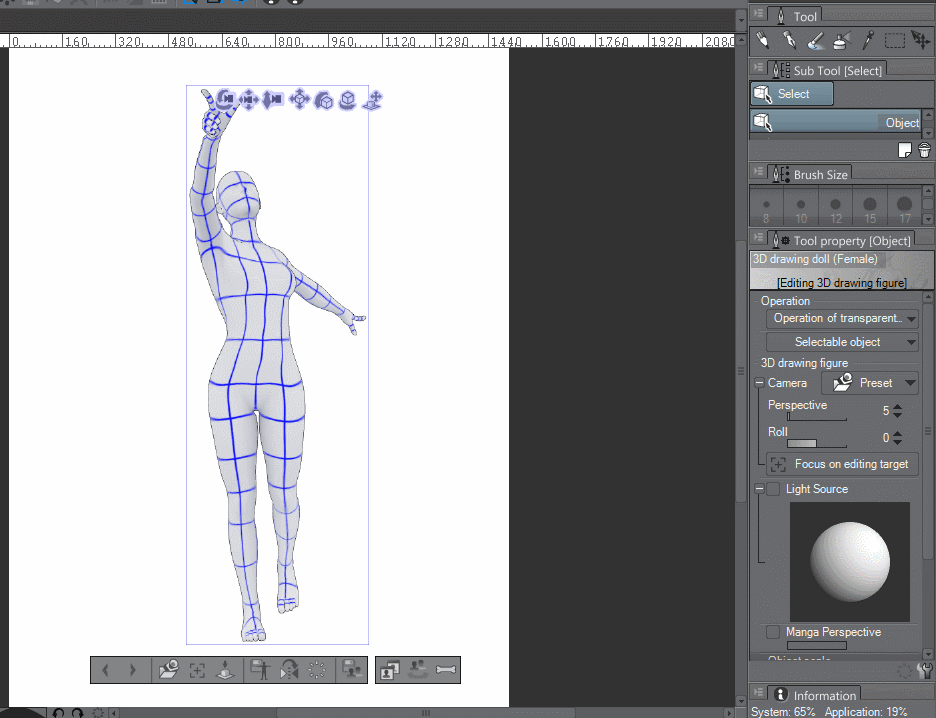
Then we have Roll. This rotates the camera.
Focus on Editing Target works the same as that option on the bar as well.
Then we have Light Source! This one is a lot of fun and very useful. When you check it on your model become lit! If you click and drag around the sphere you can change where the light source lighting the model is placed. This is really useful for figuring out lights and shadows.
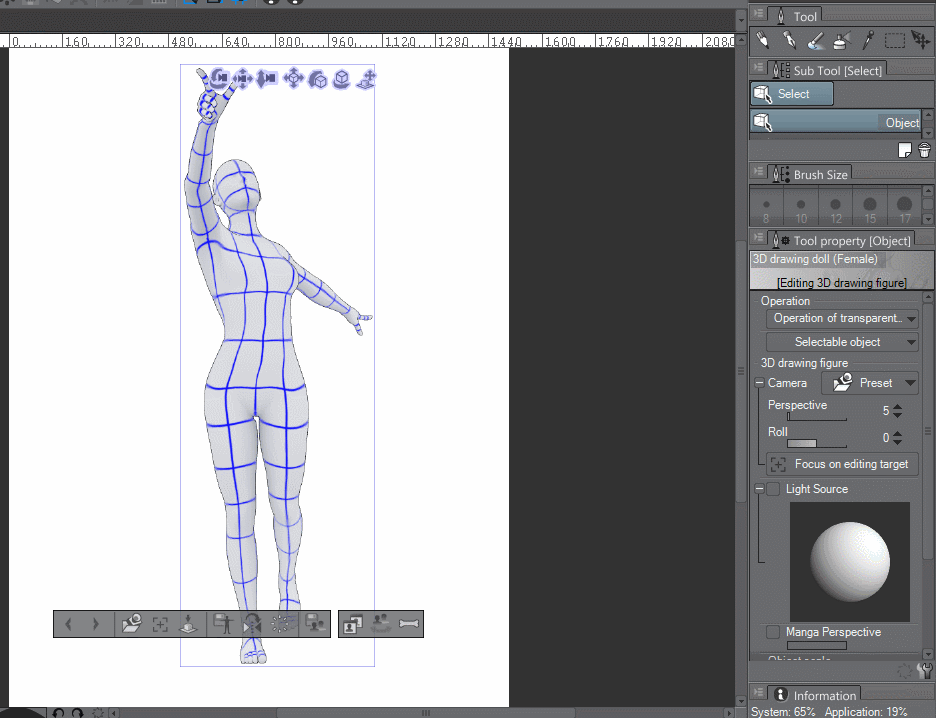
Manga Perspective is a bit different. I'm not 100% sure of the difference between it and normal perspective but I think it might be a bit more exaggerated? Not sure but I'm certain that it's useful!
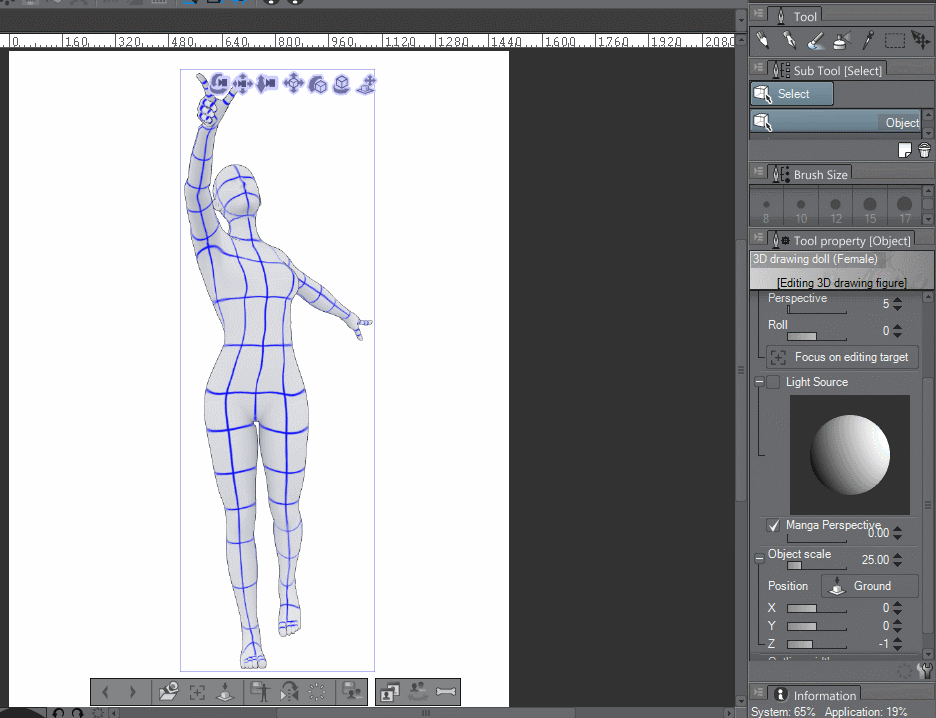
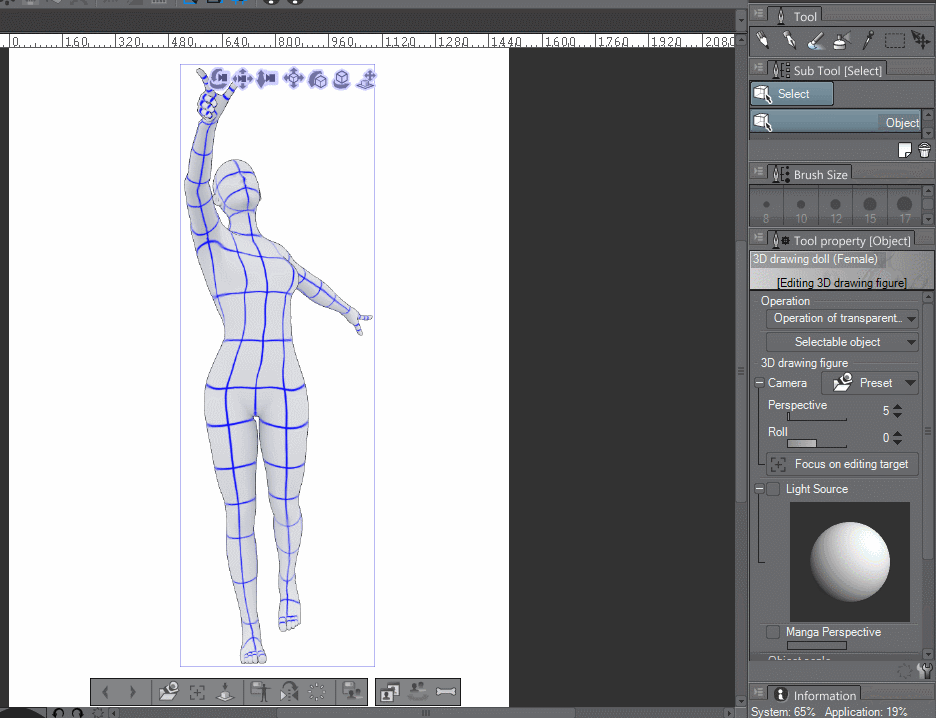
Next up is Object Scale which lets you change the size of the object.

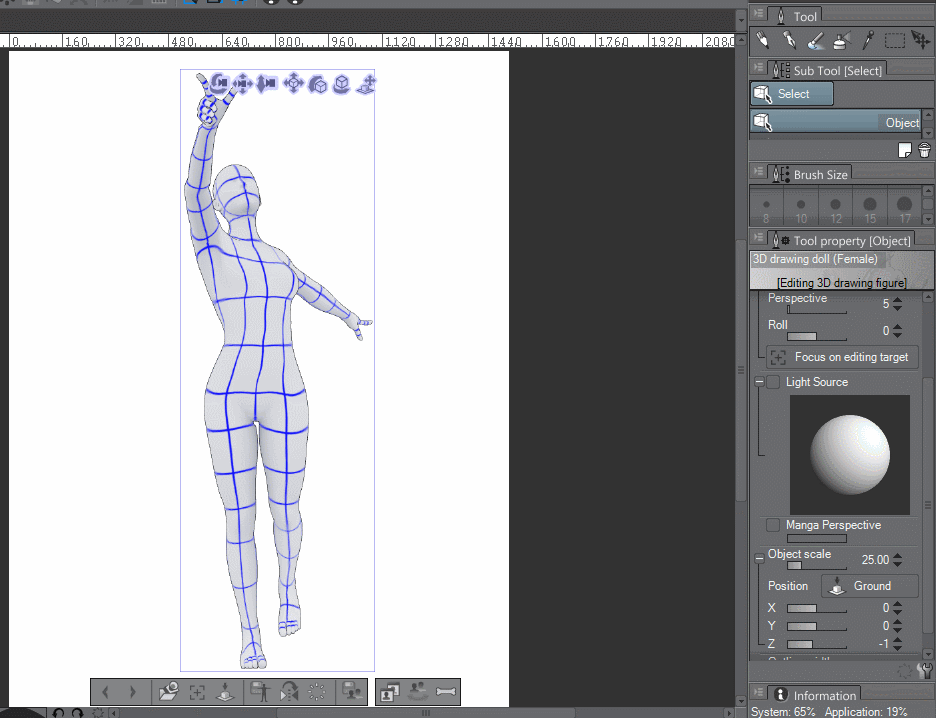
Under scale we have Position. the Ground button will ground the object to the plane so her feet are on the ground. The X, Y, and Z sliders allow you to move her side to side, up and down, and forward and back.
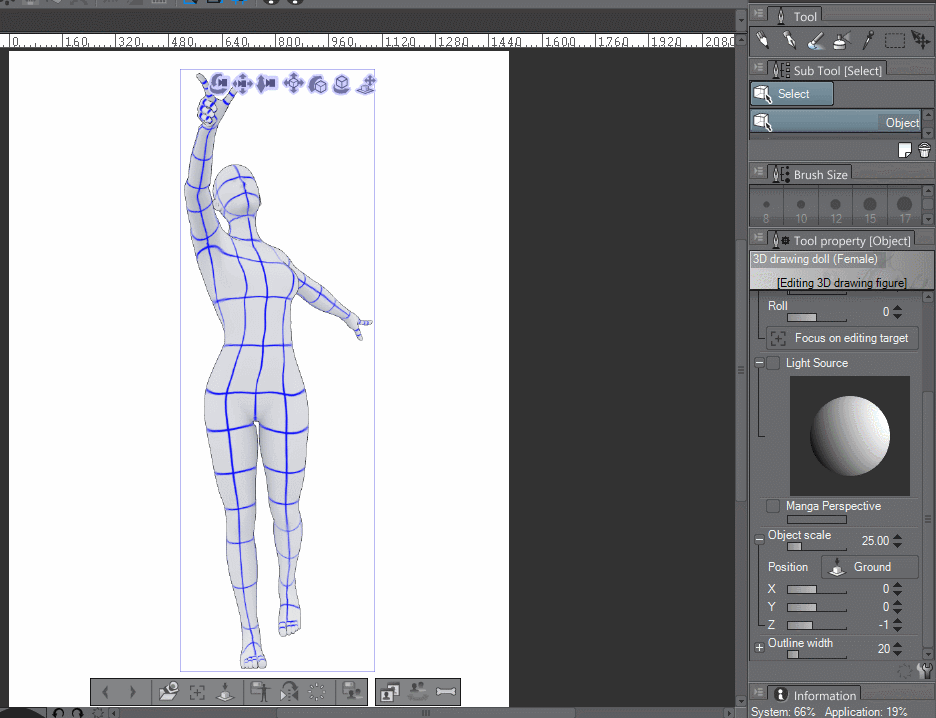
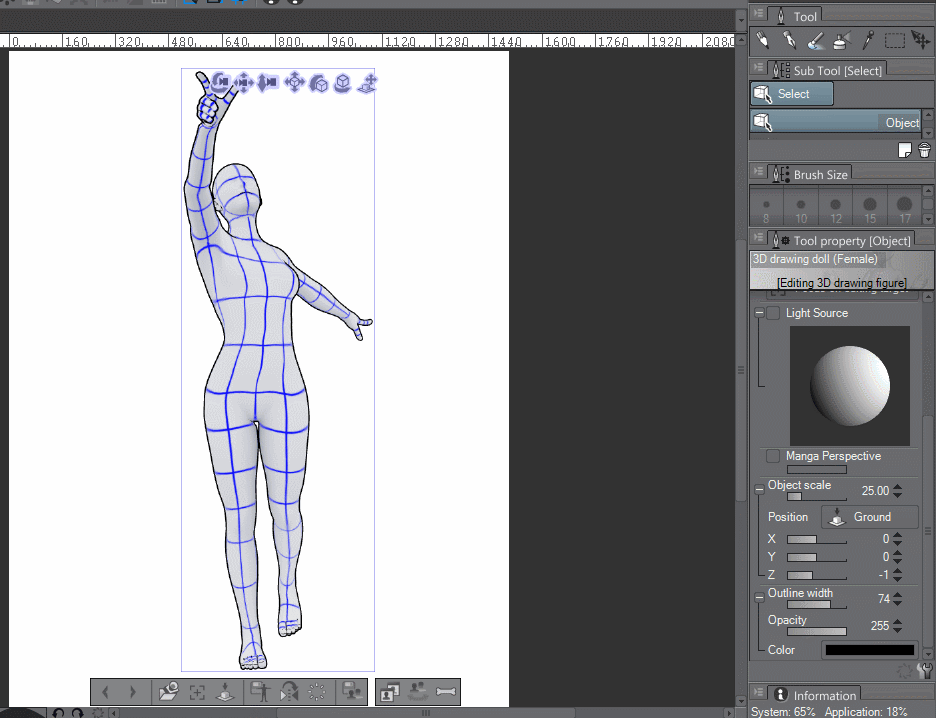
And last but not least we have Outline width and color. You can see that the model has a black outline to help you distinguish it from the background. You can change the width, opacity, and color of it. You'll notice I don't change the color in this gif, it's because if I try to then my gif breaks. To change it you just click the black box next to color then select the color you would like it to be!
If you don't want to move fingers individually but there's a hand pose that you can't get in the gallery then there're an excellent tool under Window>Sub Tool Detail that lets you choose from different closed hand types, lock fingers in place, and change the hand positions from more open to more closed. It's a really fantastic little gem that I only recently learned about! You can see it in action below.
And that, my friends, is all I've learned so far about this tool. There are other 3D objects and settings that can be used in Manga Studio but I'm still trying to figure those out. As I find out more I shall update. In the meantime, I'll be offering up a free pose and model pack including some of the items seen in this tutorial. It can be found on my Tutorial and Resources page.
