3D Models in Manga Studio 5
Disclaimer: I'm still learning about this tool myself! If I find out new things I will add them in!
Have you ever wanted to use a particular pose but you can't quite get it right? Or maybe you're referencing three or four different poses trying to combine them and you're having trouble putting them into one pose? Manga Studio 5 has you covered! Say hello to Manga Studio's 3D object tool!
So where is this magical tool? Look no further than you Materials folder my friend!
In your Materials folder you'll see 3D and under that you'll see Body Type and Pose. Under Pose you'll see Entire Body and Hand. These are poses exclusively for the whole body and poses for the hands only. Now in my examples you'll see some extra folders. Those are ones I made to help myself keep track of poses I've made, ones I've downloaded, etc. You can make folders in here for yourself as well to keep track if you like! All you have to do is right click and hit "Make New".
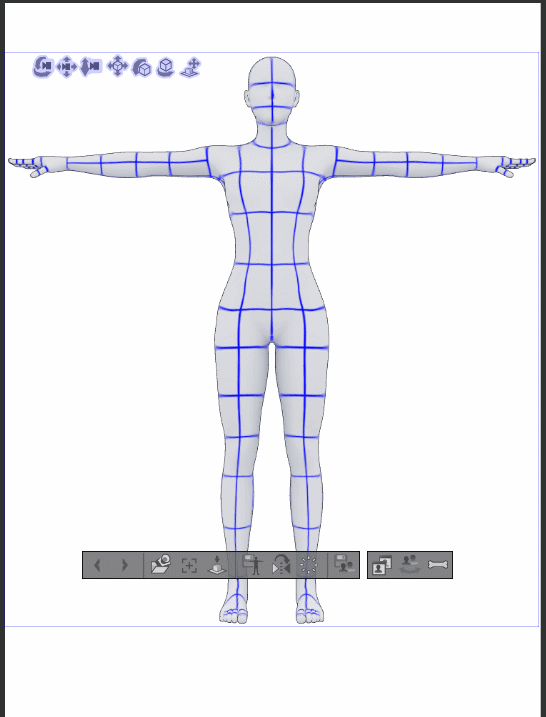
Before we start playing around with this tool there's two things you should know. You have Body Types and Poses. These are two different things! Body Types are simply bodies. By Default you have a default male and default female. You can customize these though and, more importantly, save your customized models! Poses are actual positions of the body. You can also save these the same way you save body types. We'll cover how to do these things later in this tutorial.
TIP: If you have a body type on your canvas you can drag a pose onto it and the body will take on that pose. If you have a pose on your canvas then you can drag a body type onto it and that pose will take on that body type!
Our 3D Tools
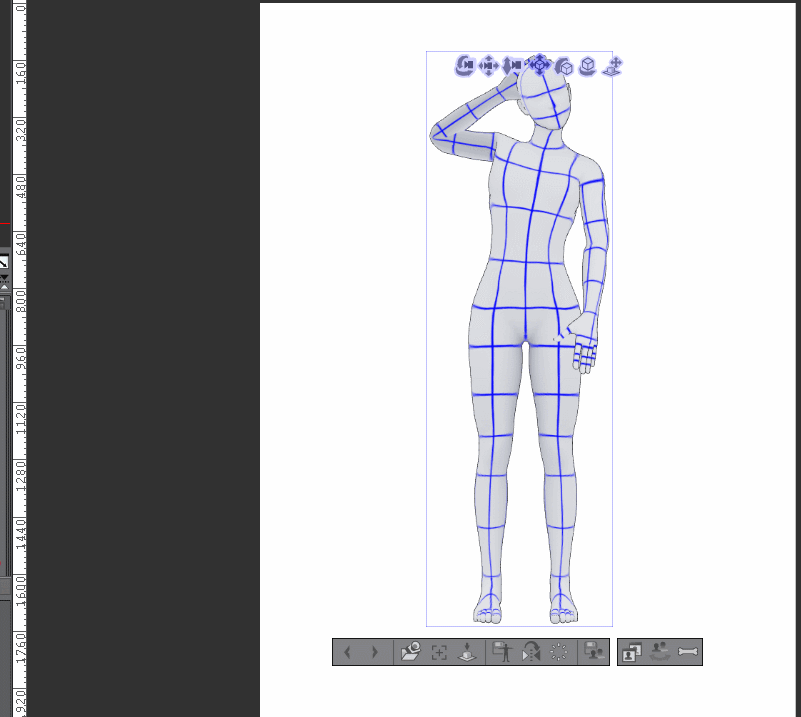
Lets look at our tools. At the top you will see seven icons. These icons each do a different action when they're clicked, held, and your mouse is moved. In order they Rotate the Camera, Move the Object and Scene in 3D Space, Move the Camera Closer or Further, Move Object in 3D Space, Rotate Object Vertically, Rotate Object Horizontally, and Move Object Across Plane. Click through the slideshow above to see examples of these tools in action!
Specify Camera Angle From Preset
At the bottom you have a bar of icons. These tools are a bit different. The first two allow you to move to another 3D object. I'm not 100% sure what this does yet. I think it may have to do with having multiple 3D models in the same scene (something I'm still trying to work out). The next one is important. It allows us to specify a camera angle from a preset. This is really useful when you're making a pose and want to check it out from different angles or if you're trying to get your model in a particular angle. You can see an example of that above.
Focus on Editing Target
Next in our bar is "Focus on Editing Target". If you have a portion of the body selected you can make it the focus of the canvas. This can be helpful when you're trying to get certain details right.
Ground Model to Floor Surface
Next is "Ground Model to Floor Surface". Sometimes when you're editing your model they end up up in the air or actually clipping through the 3D floor. This button lets you get them firmly back on the ground!
Up next is "Register Pose to Material Palette". This tool is very important if you want to use a pose for multiple things or if you download pose packs from online. This allows you to save a pose for later. Simply click the tool and you'll get a Register Material window where you can name the pose and decide which folder to place it in.
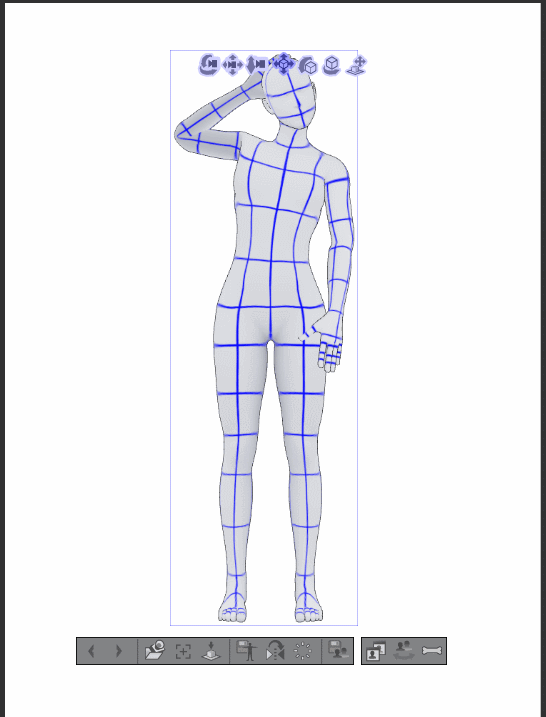
The button next to this is "Reverse Model Pose Horizontally" which allows you to flip the pose as seen above.

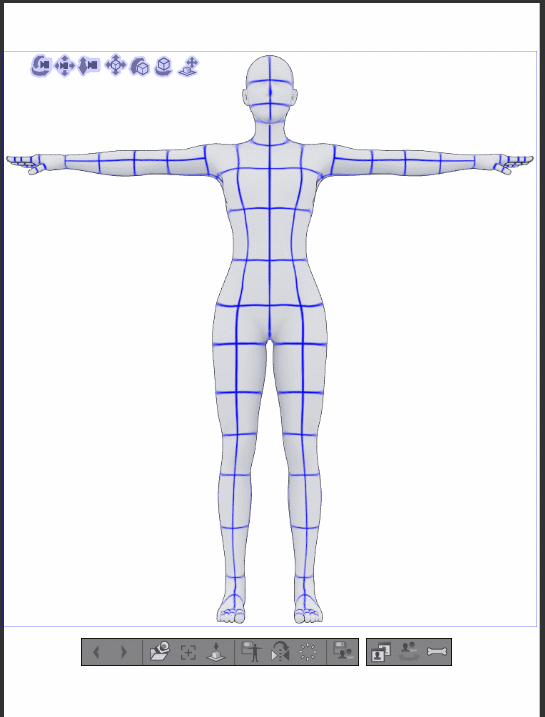
Sometimes you'll be working on a pose and you just want to scrap it and start over. That is where the next button, "Revert Model Back to Initial Pose" works wonders. It will set your model back to the default standing pose. As you can see in the gif above.
Making Model Changes
The next four tools I'm going to cover together because they're all linked. If you remember, before, I mentioned that you can change the body type of the model and save said Body Types. This is where we cover that.
The next four buttons are: Register 3D Drawing Figure to Material Palette, Adjust Body Shape and Size of 3D Drawing Figure Briefly, Adjust Body Shape and Size of 3D Drawing Figure in Detail, and Adjust Size of Each Part of 3D Drawing Figure in Detail. We'll cover Registering last, after we've changed our model a bit.
The next four buttons are: Register 3D Drawing Figure to Material Palette, Adjust Body Shape and Size of 3D Drawing Figure Briefly, Adjust Body Shape and Size of 3D Drawing Figure in Detail, and Adjust Size of Each Part of 3D Drawing Figure in Detail. We'll cover Registering last, after we've changed our model a bit.
So first up we have "Adjust Body Shape and Size of 3D Drawing Figure Briefly". This will give you a grid with four quadrants labeled Slim, Kid, Overweight, and Sensual. As you drag the box in the center around the quadrants you can see changes in your model. On the right is a sliding bar which allows you to change the size of the body in relation to the head. You can see these illustrated in the gifs above.

Adjust Body Shape and Size of 3D Drawing Figure in Detail
Next up is "Adjust Body Shape and Size of 3D Drawing Figure in Detail". This gives you sliders for Slim, Kid, Overweight, and Sensual instead of quadrants and allows you to use more than two of them at once.
And then we have "Adjust Size of Each Part of 3D Drawing Figure in Detail". This brings up sliders for each part of the body and allows you to change their size. This can allow for minor adjustments or cartoonish model changes.
Register 3D Drawing Figure to Material Palette
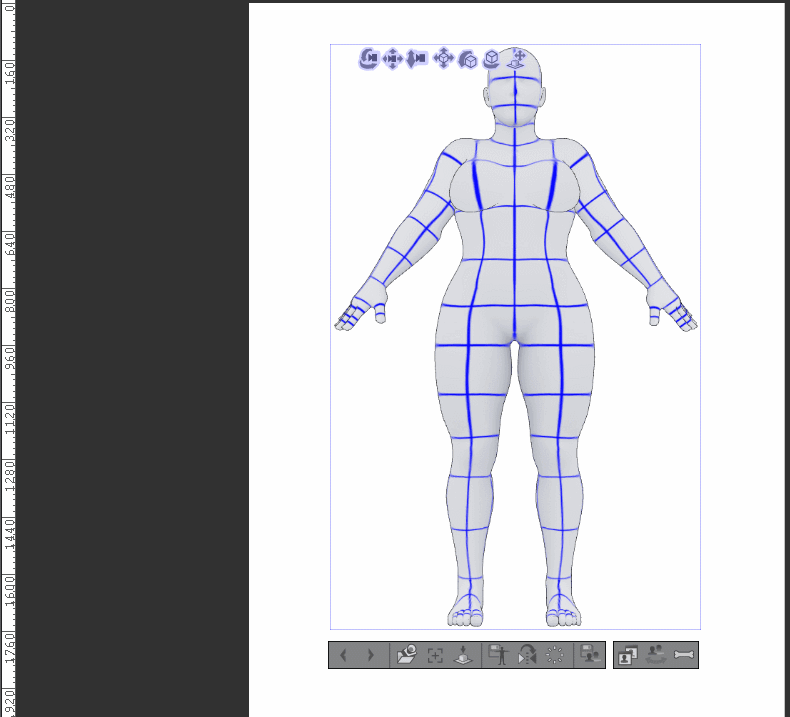
And now we're going to jump back to "Register 3D Drawing Figure to Material Palette". In this case I've tried to adjust the model based on the character Jasper from Steven Universe. Jasper is big, thick, and muscular. (Now obviously, it's a premade model so it won't be spot on to the character but it can help a lot when you're having difficulty getting certain body types down in your art.) If we select "Register 3D Drawing Figure to Material Palette" we will get our Register Materials window up again and be able to save this model in our Body Types section for later use!
That covers our basic visual tools regarding 3D models. Now, lets move on to actually making poses!
